First published on TECHNET on Oct 29, 2018
Hello all from PFE Land! I'm Allen Sudbring, PFE in the Central Region. Today I'm going to talk about the built in SSH server that can be added to Windows Server 2019. With previous versions of server, there was some detailed configuration and installs you needed to do, to get SSH working on a Windows Server. With Windows Server 2019, it has become much easier. Here are the steps to install, configure, and test:
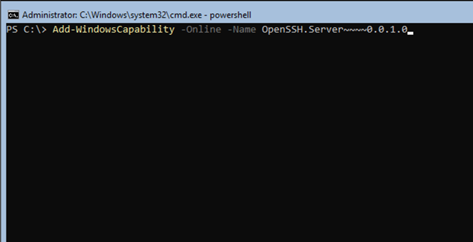
Open a PowerShell window on the Server you wish to install at:

Run the following command to install the SSH server components:
Add-WindowsCapability -Online -Name OpenSSH.Server~~~~0.0.1.0
The install opens the firewall port and configures the service. Last step is start both SSH services with the following command and set them to automatic:
Set-Service sshd -StartupType Automatic
Set-Service ssh-agent -StartupType Automatic
Start-Service sshd
Start-Service ssh-agent

Test with SSH client. I used Ubuntu installed on Windows 10 WSL. The format for server on domain to connect is upn of the login account @servername, as in:
ssh allenadmin@sudbringlab.com@servername

- For servers in a workgroup, use a local admin account@servername as in:
ssh AzureVMAdmin@servername

After you login, you receive a command prompt where you can proceed with CMD or open PowerShell:


OpenSSH gives you the ability to connect to your windows servers without remote PowerShell and get a full CMD and PowerShell Experience. The ability to connect to Windows machines from Linux with a remote CMD shell is also useful in mixed environments.
In case you're asking, you also can do the opposite way, and install PowerShell on Linux and remote to a PowerShell Instance on a Linux Machine with PowerShell Core on a Window Machine, but that is for a later post…
Thanks for reading!