Forum Discussion
How to disable New save dialog
NDS3010 , the question was about the new save dialog, not the backstage. Is there a way to diable the new save dialog so we can use Ctrl + S to get to the old save dialog (rather than having to use a new/different shortcut in F12)?
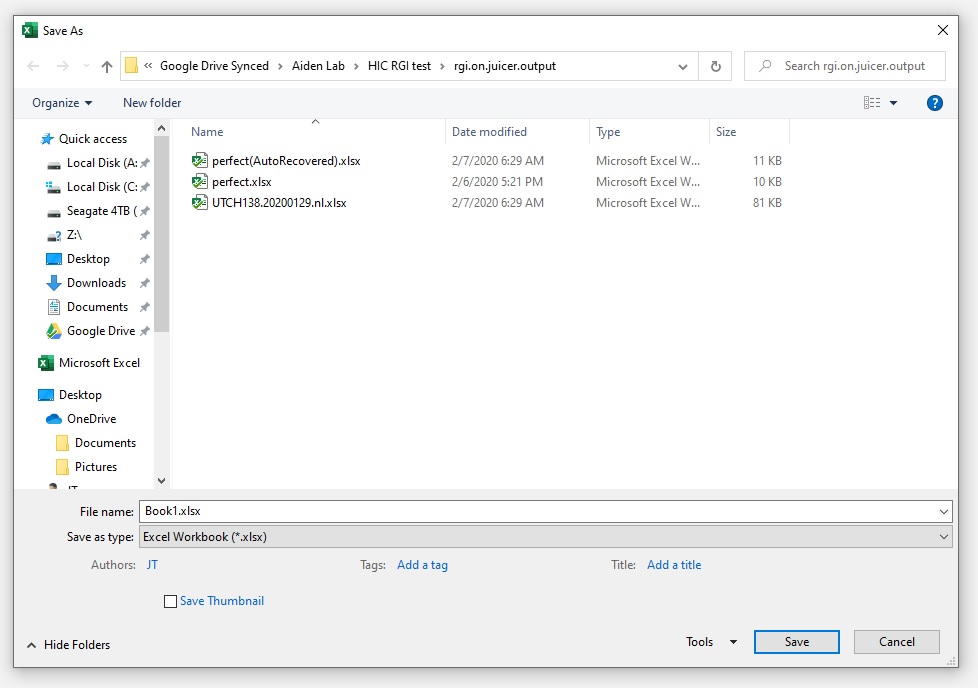
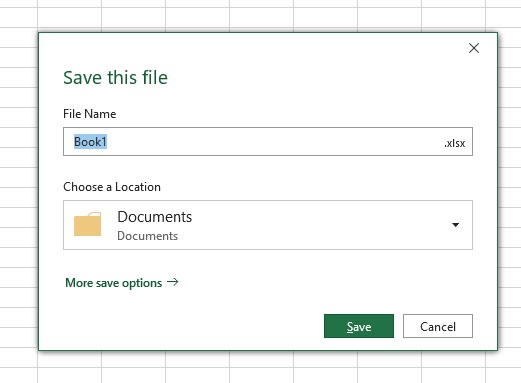
jtmss If i understand your question correctly, then i think that this is the change your looking for. When i press CTRL + s, on a unsaved document, with the "Don't show the Backstage....." option enabled, then i get the old style save as.. dialog.
Attached is a recording from Windows Steps Recorder, showing what it does at my PC. The file is zipped, cant post MHTML files here.
Edit: you can click on the screenshots to enlarge the picture.
Is this is not what your looking for, then i'm not sure i understand what you are looking for.
 jtmssFeb 07, 2020Copper Contributor
NDS3010 , thanks for the detailed instructions. I had accidentally unchecked (rather than checked) the "Don't show the Backstage when opening or saving files with keyboard shortcuts" CheckBox. I still get the Backstage when I click on "Save As"; guess I'll just have to learn to use F12.
 MikaNo1325Nov 04, 2024Copper ContributorEh, the new Save As (F12) dialog does not provide option to create new folders by default:
- It shows the folder, in which the file is saved (in my case - I want to Save As...).
- But in the folders pane on the left side, the "Quick Access" line is selected and there is no button for "New Folder".
- A workaround is to click on some real folder name in the folders pane - but then again: the preselected folder was correct and by clicking on any of the shortcuts in folders pane, I effectively change dir to that other folder.
Crazy. Why simply not the old proven "File // Save As // Browse" dialog window? NDS3010Feb 09, 2020Brass Contributor
jtmss I have been looking, and i can't find a option to disable the backstage when using "save as". Guess the F12 shortcut is the most efficient solution anyway, though it will take some getting used to.
- SairjohnJun 07, 2020Copper Contributor
NDS3010The goog old “Save As” still exists. It just isn’t anywhere in the ribbon. But it can be easily put again in place.
1‐ In the Quick Access Toolbar (near the top left corner of the window, where the undo and redo commands are), click on the little downward triangle.
2‐ In the menu that opens, select down there “More Commands”. You will go directly to a section of the “Word Options” settings windows, named “Customize Quick Access Toolbar”.
3‐ In the right side of this window, just bellow “Choose command”, you will see a dropdown box with “More frequent commands” select. Bellow it, there is a list box with several commands in alphabetical order. Roll them down until you see the “Save As” command.
4‐ Select the “Save As” command in the list box do the left and click the “Add” button near the center of the window, and the “Save As” command will show up in list box to the right, just below the “Redo” command.
5‐ You can change the position of the “Save As” command among the others in this list box using the “Move Up” and “Move Down” buttons (mini‐triangles pointing upwards and downwards) just to the right. You can do this to any other command in this list box, by the way.
6‐ Click the “Ok” button in the lower right corner of the window and you are done. Now, the “Save As” command appears near the “Undo” and “Redo” buttons in the Quick Access Toolbar.
Note that, when you pause the cursor on the command you just added, the label “Save As (12)” shows up, indicating that this is the “Save As” that is called when you press the F12 key, the one that doesn’t use the infamous backstage.