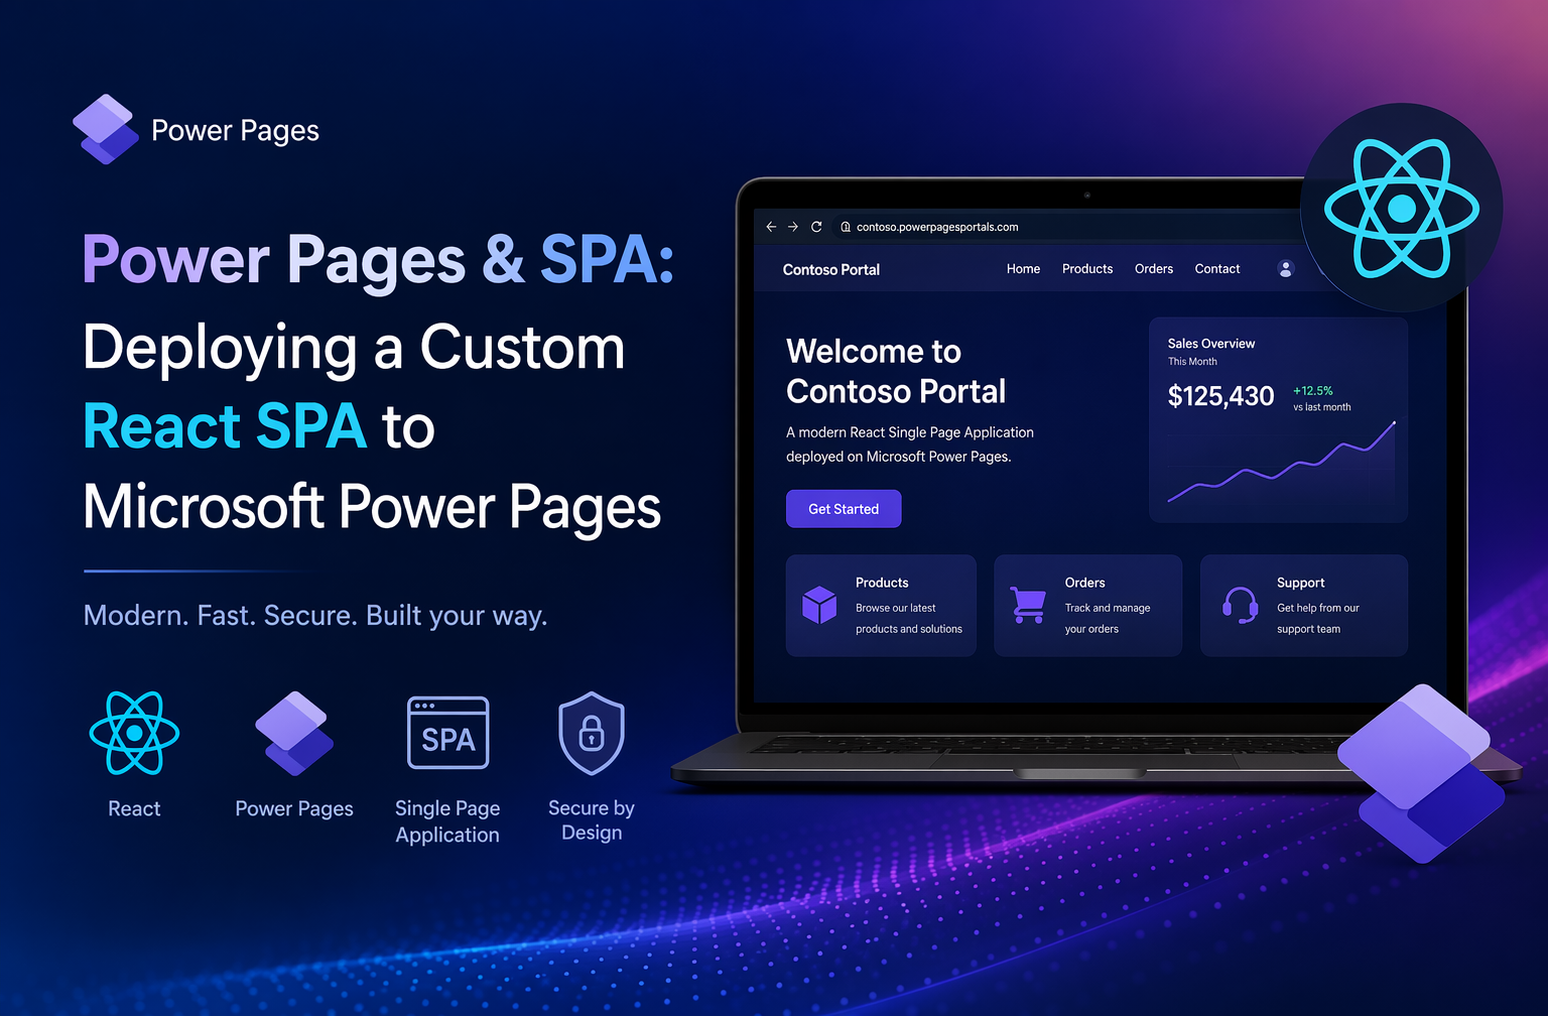
Build modern client-side experiences with React and deploy them securely on Power Pages using Power Platform CLI.
Introduction
Modern business applications are no longer limited to traditional server-rendered pages or fixed portal layouts. Today’s users expect fast, responsive, highly interactive web experiences - the kind of experience developers commonly build using modern front-end frameworks such as React.
Microsoft Power Pages has evolved to support this shift. With Single Page Application support, developers can now build modern client-side applications and deploy them directly to Power Pages while still benefiting from the platform’s security, authentication, Dataverse integration, and governance capabilities.
In this blog, we’ll walk through how to build a simple React Single Page Application using Vite and deploy it to Microsoft Power Pages using the Power Platform CLI.
What We Will Build
In this walkthrough, we will:
- Create a React + TypeScript application using Vite
- Add simple client-side navigation
- Build the app for production
- Authenticate Power Platform CLI
- Upload the compiled SPA to Power Pages
- Activate and test the deployed site
- Review key troubleshooting and governance considerations
Prerequisites
Before starting, ensure you have the following:
- A Power Pages environment where you have admin privileges
- Power Platform CLI installed and authenticated
- A Power Pages site that supports SPA deployment
- Node.js installed locally
- A local React, Angular, or Vue project
- Permission to allow JavaScript file uploads if blocked by the environment
Step 1: Create a React App Using Vite
Start by creating a new React + TypeScript app.
npm create vite@latest powerpages-spa -- --template react-ts cd powerpages-spa npm install npm run devThis creates a lightweight React application using Vite. You can run it locally and validate that the app works before deploying it to Power Pages.
Step 2: Add Basic Pages and Navigation
Create a simple page structure.
mkdir src/pagesCreate src/pages/Home.tsx.
export default function Home() {
  return (
    <div>
      <h2>Welcome to Power Pages SPA</h2>
      <p>This React application is hosted on Microsoft Power Pages.</p>
    </div>
  );
}
Create src/pages/Products.tsx.
export default function Products() {
  return (
    <div>
      <h2>Products</h2>
      <p>This is a sample product page rendered inside the SPA.</p>
    </div>
  );
}
Now update App.tsx.
import { HashRouter as Router, Routes, Route, NavLink } from "react-router-dom";
import Home from "./pages/Home";
import Products from "./pages/Products";
import "./App.css";

function App() {
  return (
    <Router>
      <header>
        <h1>My Power Pages SPA</h1>
        <nav>
          <NavLink to="/">Home</NavLink>
          <NavLink to="/products">Products</NavLink>
        </nav>
      </header>

      <main>
        <Routes>
          <Route path="/" element={<Home />} />
          <Route path="/products" element={<Products />} />
        </Routes>
      </main>
    </Router>
  );
}

export default App;
Power Pages handles routing on the server side. If you use BrowserRouter, your SPA will break on refresh or navigation, because Power Pages tries to resolve routes itself. To fix that, use HashRouter - it keeps navigation fully on the client side, avoiding any routing conflicts.
Install React Router if it is not already installed.
npm install react-router-domStep 3: Build the React App
Once the local app is ready, create the production build.
npm run buildFor a Vite React app, this typically generates the compiled output inside the dist folder. This compiled folder is what we will upload to Power Pages.
Step 4: Authenticate Power Platform CLI
Authenticate to your Power Platform environment.
pac auth create --url https://yourorg.crm.dynamics.comReplace the URL with your Dataverse environment URL. If you work with multiple environments, confirm the active environment before uploading.
pac auth listStep 5: Upload the SPA to Power Pages
Use the following PAC CLI command to upload the React SPA.
pac pages upload-code-site ` --rootPath "./" ` --compiledPath "./dist" ` --siteName "My Power Pages SPA"(Optional) You can also use a powerpages.config.json file in the root folder to define configuration such as site name, default landing page, and compiled path.
Example:
{ "siteName": "My Power Pages SPA", "defaultLandingPage": "index.html", "compiledPath": "./dist" }Then upload using:
pac pages upload-code-site --rootPath "./"Step 6: Activate the Site
After upload, the SPA site appears in Power Pages under inactive sites and must be activated to make it available to users.
To activate it:
- Go to Power Pages.
- Open Inactive sites.
- Find your uploaded SPA site.
- Select Reactivate.
- Open the site URL and validate the deployment.
Step 7: Download and Re-upload an Existing SPA Site
If you need to download an existing SPA site for editing or backup, use:
pac pages download-code-site ` --path "./downloaded-site" ` --webSiteId "your-website-guid" ` --overwriteSecurity and Dataverse Integration
A major advantage of deploying SPAs to Power Pages is that the app can still use Power Pages security and Dataverse integration patterns.
For Dataverse operations, developers can use Power Pages Web APIs to load content into the UI or create, update, and delete records, provided the required Web APIs are enabled and table permissions and web roles are configured properly.
const fetchAccounts = async () => {
  const response = await fetch("/_api/accounts");
  const data = await response.json();
  return data.value;
};
Always configure table permissions and web roles carefully. The front end should never be treated as the security boundary. Power Pages Web API calls must rely on the platform’s permission model.
Troubleshooting: JavaScript Upload Restrictions
Some Dataverse environments block JavaScript file uploads by default. Microsoft Learn states that if you encounter an error such as “Import failed: The attachment is either not a valid type or is too large,” you may need to remove js from blocked attachments in the environment settings.
To check this:
- Open Power Platform admin center.
- Select the environment.
- Go to Settings.
- Expand Product.
- Select Privacy + Security.
- In Blocked Attachments, remove js.
- Save the setting.
- Re-run the upload command.
Key Differences from Traditional Power Pages Sites
SPA sites behave differently from traditional Power Pages implementations.
Microsoft Learn states that for SPA sites:
- Server-side refresh returns the site root page and the client-side router renders sub-routes.
- The pages workspace isn’t supported.
- Styling workspace isn’t supported.
- Liquid code and Liquid templates aren’t supported.
- Adding out-of-the-box components such as lists and forms isn’t currently supported.
- SEO support is limited because SPA sites use client-side rendering.
This means developers should treat Power Pages SPA development as a code-first model rather than a low-code page-authoring model.
Recommended Project Structure
A simple structure can look like this:
powerpages-spa
│
├── src
│   ├── pages
│   │   ├── Home.tsx
│   │   └── Products.tsx
│   ├── App.tsx
│   └── main.tsx
│
├── dist
│
├── powerpages.config.json
├── package.json
└── README.md
Conclusion
Power Pages SPA support opens up an exciting path for professional developers and fusion teams. You can now build modern React-based experiences and host them on Power Pages while continuing to use the platform’s authentication, Web API, Dataverse, and governance capabilities.
This approach is especially useful when your portal experience requires advanced UI customization, dynamic client-side behavior, or a component-driven front end that goes beyond traditional portal pages.
With React, Vite, and Power Platform CLI, the deployment flow becomes simple:
npm run build pac pages upload-code-site --rootPath "./" --compiledPath "./dist" --siteName "My Power Pages SPA"Useful References

 Microsoft