First published on TECHNET on May 05, 2016
<This post has been updated to reflect Windows Server 2016 RTM>
<A more comprehensive guide to IaaS VM Guest Clusters is available here .>
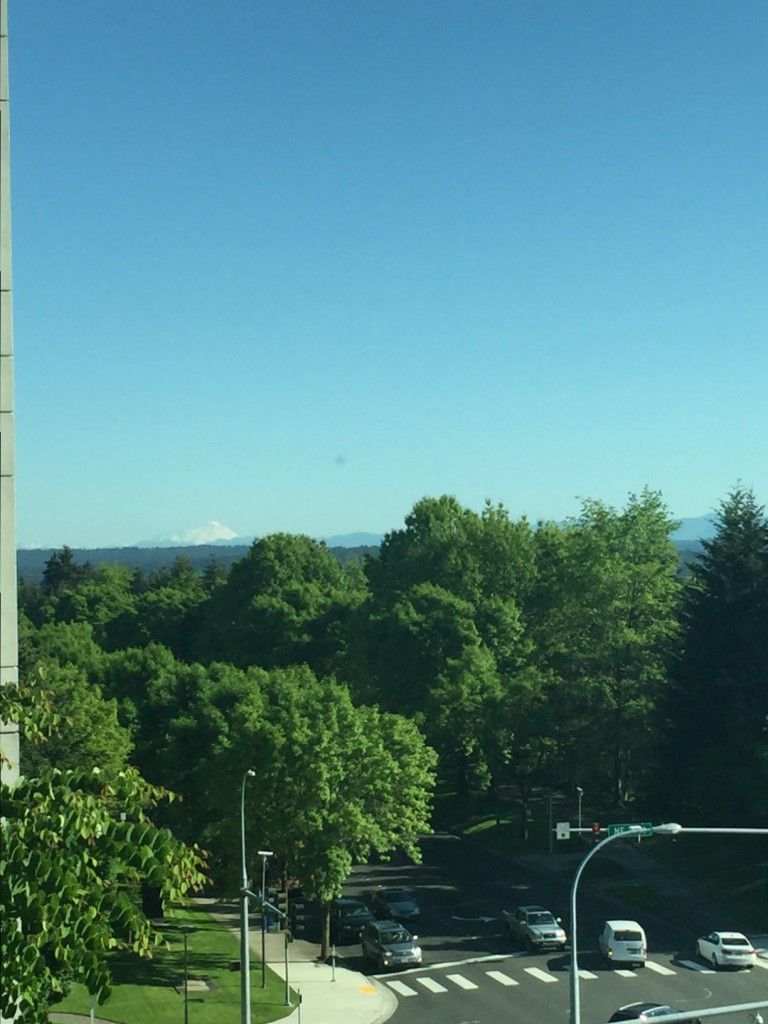
Hello, Claus here again. Enjoying the great weather in Washington and enjoying the view from my office, I thought I would share some notes about standing up Storage Spaces Direct using virtual machines in Azure and create a shared-nothing Scale-Out File Server. Several scenarios are now supported, including:
Scale-Out File Server for User Profile Disks
SQL Server failover cluster instance:
Support statement
Deployment guidance

I used DS1 V2 virtual machines and the Windows Server 2016 template.
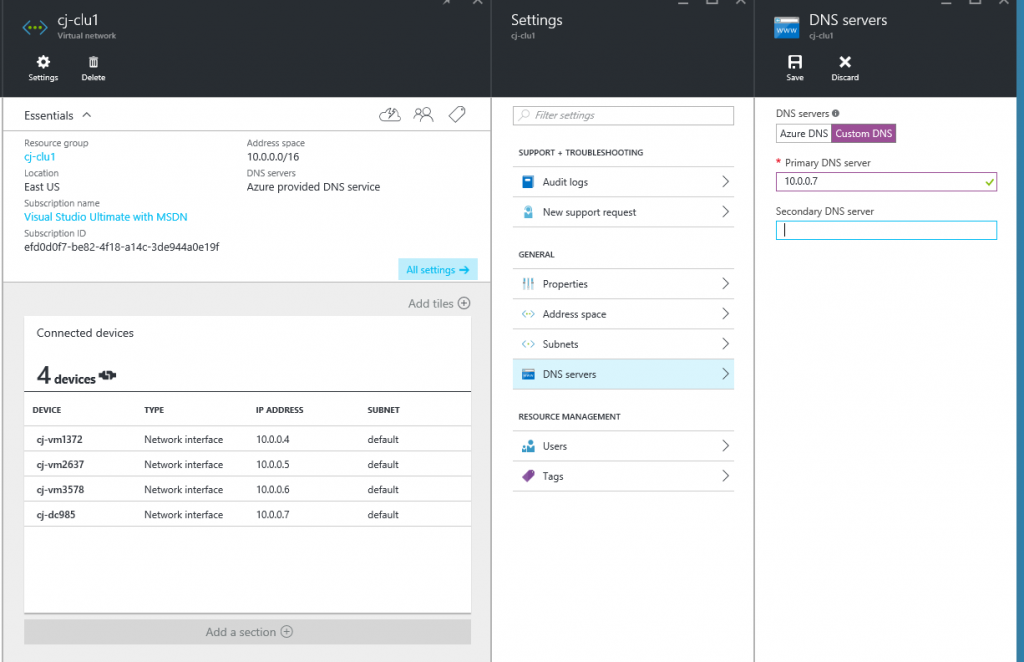
I promoted the domain controller with domain name contoso.com. Once the domain controller setup finished, I changed the Azure virtual network configuration to use ‘Custom DNS’, with the IP address of the domain controller (see picture below).

I restarted the virtual machines to pick up this change. With the DNS server configured I joined all 3 virtual machines to the domain.
Next I needed to form a failover cluster. I ran the following to install the Failover Clustering feature on all the nodes:
$nodes = ("CJ-VM1", "CJ-VM2", "CJ-VM3")
icm $nodes {Install-WindowsFeature Failover-Clustering -IncludeAllSubFeature -IncludeManagementTools}
With the Failover Clustering feature installed, I formed the cluster:
New-Cluster -Name CJ-CLU -Node $nodes –StaticAddress 10.0.0.10
With a functioning cluster, I can enable Storage Spaces Direct, which automatically creates a storage pool:
Enable-ClusterS2D
Each Azure DS1 V2 virtual machine comes with a 7GB temp disk. Storage Spaces Directs informs me that it did not claim the temp disk. It doesn't claim this disk, since it already has a partition on it, which is great since I did not intend to use it as part of Storage Spaces Direct.
Storage Spaces Direct also informs me that it didn't find any disks to be used for cache. All disks are identical in size and performance, and in that configuration there is no point to configuring a cache.
With Storage Spaces Direct enabled and a storage pool automatically created, I created a volume:
New-Volume -StoragePoolFriendlyName S2D* -FriendlyName VDisk01 -FileSystem CSVFS_REFS -Size 800GB
New-Volume automates the volume creation process, including formatting, adding it to cluster and make it a CSV:
Get-ClusterSharedVolume
Name State Node
---- ----- ----
Cluster Virtual Disk (VDisk01) Online cj-vm2
With the volume in place, I installed the file server role and created a Scale-Out File Server:
icm $nodes {Install-WindowsFeature FS-FileServer}
Add-ClusterScaleOutFileServerRole -Name cj-sofs
Once the Scale-Out File Server was created, I created a folder and a share:
New-Item -Path C:\ClusterStorage\Volume1\Data -ItemType Directory
New-SmbShare -Name Share1 -Path C:\ClusterStorage\Volume1\Data -FullAccess contoso\clausjor
On the domain controller I verified access by browsing to \\cj-sofs\share1 and storing a few files:

I hope I provided a good overview on how to stand up a Scale-Out File Server using Storage Spaces Direct in a set of Azure virtual machines. Let me know what you think.
Until next time
Claus
<This post has been updated to reflect Windows Server 2016 RTM>
<A more comprehensive guide to IaaS VM Guest Clusters is available here .>
Hello, Claus here again. Enjoying the great weather in Washington and enjoying the view from my office, I thought I would share some notes about standing up Storage Spaces Direct using virtual machines in Azure and create a shared-nothing Scale-Out File Server. Several scenarios are now supported, including:
Scale-Out File Server for User Profile Disks
SQL Server failover cluster instance:
Support statement
Deployment guidance

Using the Azure portal, I:
-
Created four virtual machines
- 1x DC named cj-dc
- 3x storage nodes named cj-vm1, cj-vm2 and cj-vm3
- Created and attached two 512 GB premium data disk to each of the storage nodes
I used DS1 V2 virtual machines and the Windows Server 2016 template.
Domain Controller
I promoted the domain controller with domain name contoso.com. Once the domain controller setup finished, I changed the Azure virtual network configuration to use ‘Custom DNS’, with the IP address of the domain controller (see picture below).

I restarted the virtual machines to pick up this change. With the DNS server configured I joined all 3 virtual machines to the domain.
Failover Clustering
Next I needed to form a failover cluster. I ran the following to install the Failover Clustering feature on all the nodes:
$nodes = ("CJ-VM1", "CJ-VM2", "CJ-VM3")
icm $nodes {Install-WindowsFeature Failover-Clustering -IncludeAllSubFeature -IncludeManagementTools}
With the Failover Clustering feature installed, I formed the cluster:
New-Cluster -Name CJ-CLU -Node $nodes –StaticAddress 10.0.0.10
Storage Spaces Direct
With a functioning cluster, I can enable Storage Spaces Direct, which automatically creates a storage pool:
Enable-ClusterS2D
Each Azure DS1 V2 virtual machine comes with a 7GB temp disk. Storage Spaces Directs informs me that it did not claim the temp disk. It doesn't claim this disk, since it already has a partition on it, which is great since I did not intend to use it as part of Storage Spaces Direct.
Storage Spaces Direct also informs me that it didn't find any disks to be used for cache. All disks are identical in size and performance, and in that configuration there is no point to configuring a cache.
Volumes
With Storage Spaces Direct enabled and a storage pool automatically created, I created a volume:
New-Volume -StoragePoolFriendlyName S2D* -FriendlyName VDisk01 -FileSystem CSVFS_REFS -Size 800GB
New-Volume automates the volume creation process, including formatting, adding it to cluster and make it a CSV:
Get-ClusterSharedVolume
Name State Node
---- ----- ----
Cluster Virtual Disk (VDisk01) Online cj-vm2
Scale-Out File Server
With the volume in place, I installed the file server role and created a Scale-Out File Server:
icm $nodes {Install-WindowsFeature FS-FileServer}
Add-ClusterScaleOutFileServerRole -Name cj-sofs
Once the Scale-Out File Server was created, I created a folder and a share:
New-Item -Path C:\ClusterStorage\Volume1\Data -ItemType Directory
New-SmbShare -Name Share1 -Path C:\ClusterStorage\Volume1\Data -FullAccess contoso\clausjor
Verifying
On the domain controller I verified access by browsing to \\cj-sofs\share1 and storing a few files:

Conclusion
I hope I provided a good overview on how to stand up a Scale-Out File Server using Storage Spaces Direct in a set of Azure virtual machines. Let me know what you think.
Until next time
Claus
Updated Apr 10, 2019
Version 2.0Claus Joergensen Microsoft
 Microsoft
Joined September 30, 2016
Storage at Microsoft
Follow this blog board to get notified when there's new activity