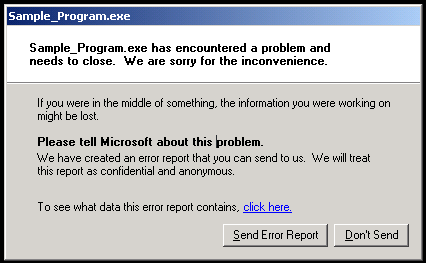
Happy Friday AskPerf. My name is Syed Yusuf, and I am a Support Engineer on the Performance team. Application crash issues can be somewhat tricky to resolve – especially if we’re dealing with a third party application. Today we’re going to take a look a the Application Verifier tool and how it can be leveraged to troubleshoot application issues, or for testing application compatibility beyond most normal use-case scenarios. The tool itself is developer-focused, to be sure, but we have used it on occasion when troubleshooting unmanaged code issues. At this point, it’s probably a good idea to differentiate managed and unmanaged code. Unmanaged code is essentially an executable that loads into memory – like NOTEPAD.EXE. Managed code on the other hand, is code that has its execution managed by the .NET Framework Common Language Runtime (check out Brad Abrams’ post, What is managed code? for more info). A quick word on the difference in support for the two - if you are working on an issue with managed code, App Verifier would not be the right tool, and you should engage our Developer Support group for assistance.
OK, let’s get back to the Application Verifier and what it does. When developing an application, the App Verifier can be used to monitor how an application interacts with the OS. App Verifier can profile the application’s use of objects, the file system, registry etc. It can also be used to check how the application behaves under least-privileged user account operation, and even its interaction with the print subsystem. The App Verifier hooks into the application and then monitors the process for any errors. Information is logged to an XML file.
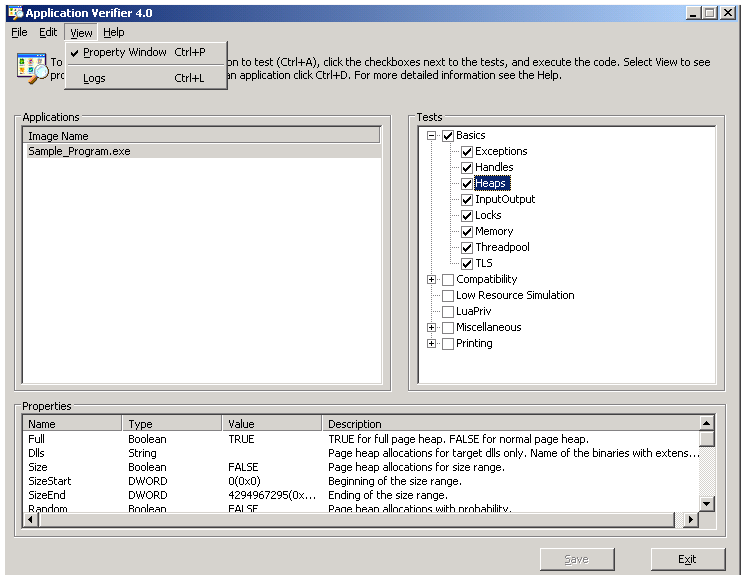
So, let’s take a quick look at how App Verifier works. The App Verifier can be downloaded from the Microsoft Download Center (the link is in the Additional Resources section). You will need to select the version that matches the processor type for the machine on which you will be running the tool. After you launch the tool, this is what the UI looks like:

Right-click in the left hand pane and select Add Application and then select the executable for the program you are testing. Once you have the program selected, you can select the tests you want to perform in the right-hand pane, and then run the application as normal. When you exit the application, or if it encounters an error, you can review the logs to see the results. For our example, we’re using a sample executable with known issues.

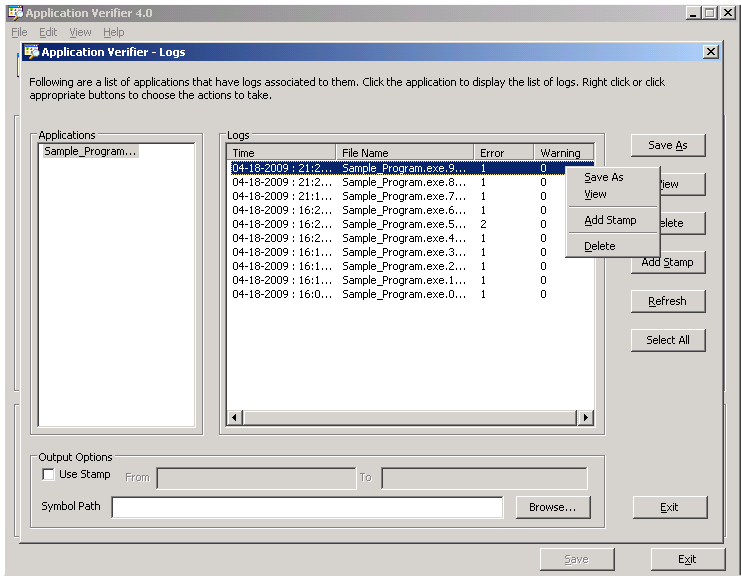
Let’s take a look at the log files (click on View –> Logs):

Right-click on the log you want to view, select “Save As”, and choose a location to save off the file:

Let’s open up the .XML file in Excel and see what we have:

OK, so we know where the error is occurring, but what exactly does it mean. Let’s go back to the App Verifier. The two pieces of information you need are the LayerName and StopCode. In the right hand pane of App Verifier, expand out the different test buckets and find the test that matches the LayerName. For our example, the Heaps test is in the Basics bucket. Right-click the LayerName and select Verifier Stop Options. Select the appropriate code in the Verifier Stop box and the information about the verifier stop is displayed in the Description field.

Armed with this information – you now have a place to start investigating with your development team. And with that – we’ve come to the end of our post. Take care!
Additional Resources:
- Download Application Verifier
- MSDN: Using Application Verifier within your Software Development Life Cycle
- Syed Yusuf
<br/>
 Microsoft