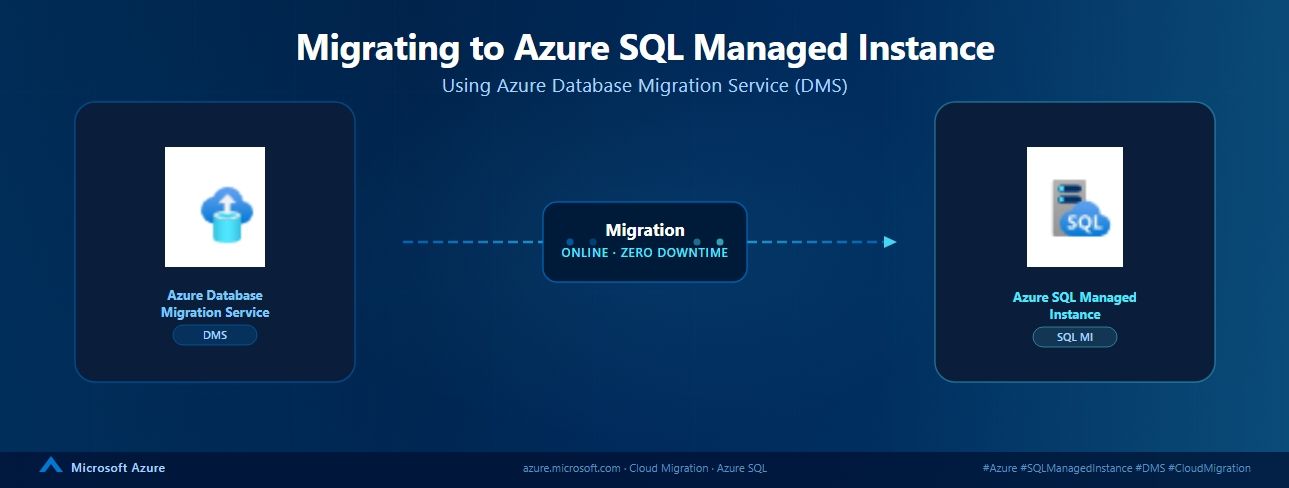
Steps to migrate to Azure SQL Managed Instance using backup on Azure blob container
Moving SQL Server to Azure SQL Managed Instance sounds challenging on day one. It doesn't have to be. If your backup files already sit in an Azure Blob Storage container, Azure Database Migration Service (DMS) handles the rest. I am going to sharing the quick and easy to follow steps for online migration to Azure SQL Managed Instance.
What do you need first?
- Target SQL Managed Instance
- Contributor on the managed instance and storage account, Reader on their resource groups, Owner or Contributor on the subscription if you're creating a new DMS instance.
- Microsoft.DataMigration registered in your subscription - one time step
- A dedicated storage account, with backups organised: "One folder in root" per database, and one backup per file.
- Network configuration of Azure Storage account should allow communication with the Target SQL Managed Instance.
How does DMS reach your backups?
1) The portal lists your backup files using your signed-in account / identity, so grant yourself Storage Blob Data Reader on the container.
2) Then choose how DMS itself reads them:
| Option | How to set it up | Note |
|---|---|---|
| Managed identity (recommended) |
a) Managed instance → Security > Identity, switch "ON" the System assigned managed identity or add User assigned managed identity. b) Then storage account → Access control (IAM) → assign Managed identity in step a), Storage Blob Data Reader permission. | Refer: DMS - Support for Managed Identity for Azure SQL Managed Instance migration | Microsoft Community Hub |
| SAS key |
Ensure that the storage account has the "Allow storage account key access" enabled. | Rotate the key once you're done |
Run the migration
- Portal → Azure Database Migration Service → select or create an instance.
- Select Start migration.
- Set target = Azure SQL Managed Instance, backup location = Azure Blob Storage, mode = Online.
- Enter your source SQL Server details, then pick the target subscription, resource group and instance.
- Point to the storage account, container and folder. Rename the target database here if you want.
- Select Next to review the summary and Start migration.
Monitor, then cutover
Watch the DMS dashboard for monitoring the migration job and click on it. As backup files move Arrived → Restoring → Restored. Ignored means a file isn't part of a valid backup chain. Keep uploading backups until you're ready for cutover.
Cutover steps:
Cutover is your only downtime, so schedule it in advance with your application owners:
- Stop incoming transactions
- Take a final backup into the same container.
- Set the source database to read-only.
- Confirm every backup shows Restored, then select Complete cutover.
- And repoint the Application to the managed instance. (Ensure to fix the login, users mapping and permissions)
When the status reads succeeded, you're running on Azure.
Know before you go
- A migration job runs for a maximum of 30 days, then cancels and deletes the target database.
- DMS won't overwrite a database on Target that already exists on the target.
- DMS, Azure blob container and Target SQL Managed Instance should be part of the same region and subscription.
- You must place backup files for different databases in separate folders inside the container. And folder should be present in the root of the container.
- The following server objects aren't supported:
SQL Server Agent jobs
Credentials
SSIS packages
Server audit - If you're migrating to a SQL Managed Instance in the Business Critical service tier, account for the delay in bringing the databases online on the primary replica while they're seeded to the secondary replicas.

 Microsoft