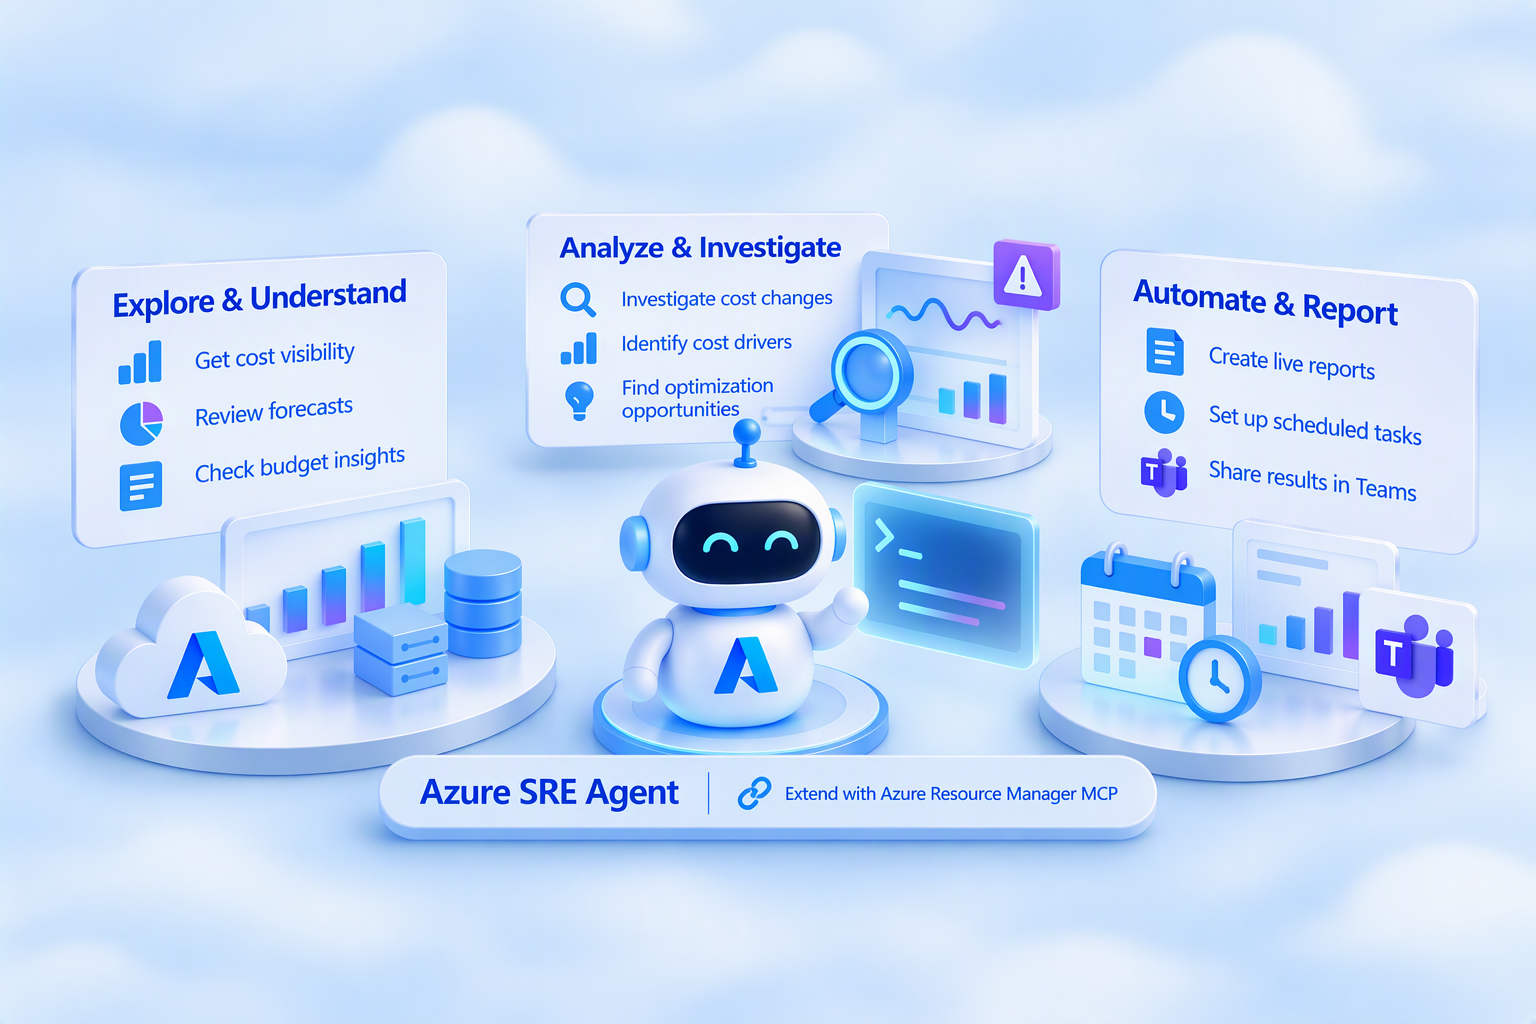
Today, we’re showing how FinOps teams can use Azure SRE Agent with Azure Resource Manager MCP (ARM MCP) to make cost analysis and investigation part of their day-to-day work. ARM MCP gives the agent access to Microsoft Cost Management capabilities. Azure SRE Agent gives teams a way to ask questions, build dashboards, and configure scheduled tasks. Together, they can help teams uncover deeper cost insights, automate recurring analysis, and shape workflows around the questions their organization needs to answer.
Build the workflow your team needs
One advantage of Azure SRE Agent is a highly extensible platform. You can configure it with the tools, data, instructions and workflows that best meet your needs. Here are a few capabilities you can utilize for FinOps.
|
Component |
Why use it for FinOps? |
|
Azure Resource Manager MCP connector |
Provides access to Azure data and capabilities for questions about spend, changes, forecasts, budgets, and more. |
|
Automates execution of FinOps workflows. Simple to set up using natural language prompts. | |
|
Sends cost details to collaborators through Teams channels. | |
|
Extends your agent with reusable guidance and workflows to improve the quality of the response. | |
|
Extends your agent through reusable guidance and pre-packaged FinOps tools. | |
|
Generates customizable FinOps dashboards through conversational interaction with Azure SRE agent. |
Let’s explore a few FinOps use cases with Azure SRE Agent.
Find out what caused a cost spike
An anomaly alert tells you costs went up. Now you need to know why. You can use Azure SRE Agent to investigate the affected resources and bring the findings back to the team.
How to do it:
- Set up Azure Resource Manager MCP connector
- Ask your Azure SRE Agent for assistance
Get a cost report before the review meeting
It’s time for the weekly cost review. Rather than pulling together the same report again, you can configure a scheduled task in Azure SRE Agent to examine costs, call out changes, and send the results to Teams. Your team chooses the questions and the cadence, whether that’s daily, weekly, monthly, or quarterly. All the relevant information is ready for the review meeting.
How to do it
- Set up Azure Resource Manager MCP connector
- Set up Teams Connector
- Create a new scheduled task
- Run scheduled task
Create and update dashboards on the go
Azure SRE Agent lets you create Live Reports for the cost analysis you need. Describe what you want to see in natural language and Azure SRE agent will create the report. You can also update the report easily by conversing the agent.
How to do it:
- Set up Azure Resource Manager MCP connector
- Create a new Live Report
Getting started
Below we cover a basic setup with a few Azure SRE agent capabilities of so you can begin exploring core FinOps use cases.
Create Your Azure SRE Agent (Prerequisite):
Follow the agent setup guide (Step 1A) to create an Azure SRE Agent in your chosen subscription and resource group. Once it’s created, open Settings at sre.azure.com to review its configuration.
If you run into a permissions issue, check these things:
- Your access to create the agent: You need Contributor or Owner role on the target resource group or subscription.
- Your access to manage the agent: You need Role Based Access Control Administrator or User Access Administrator role.
- Your team’s access to use the agent: Assign an appropriate user role on the agent resource. Note: only users with the SRE Agent Administrator role can create schedule tasks, chat, add code repositories, and approve actions.
- The agent’s access to Azure resources: Check that the agent has access to the resource groups it needs. You can update its agent permissions after creation.
Setting up Azure Resource Manager MCP Connector
- Navigate to Build + Setup in sre.azure.com
- Open Connectors and add connector
- Choose MCP server as connector type
- Name the MCP server
- Input URL: https://mcp.management.azure.com/
- Authentication type: Choose Managed Identity
- Copy the generated Managed identity for Step 10
- Azure AD Token Scope: https://mcp.management.azure.com/.default
- Custom header:
- Header key: x-mcp-toolset
- Header value: CostManagement
- Save connector
- Open Edit >MCP tools and enable Cost Management tools to activate tools
- In Azure Portal ensure the MCP’s Managed identity has the following IAM access, depending on the scope:
- Subscription or Resource Group Scope: Cost Management Reader and Reader access. Additionally, Cost Management Contributor access (if creating a budget)
- Enterprise agreement (EA) billing scope: EnrollmentReader
- Microsoft Customer Agreement (MCA scope): Billing Account Reader, Billing Profile Reader or Invoice Section
Learn more: Set Up MCP Connector | Azure SRE Agent
Setting up Teams Connector
- Navigate to Build + Setup in sre.azure.com
- Open Connectors and add connector
- Navigate to Notifications > Teams
- Authenticate in Teams
- Define the tools you want your agent to access in Teams.
- Minimum recommendation: Post message in a chat or channel, Reply to message in a chat or channel, GetUnifiedAction Schema
- Copy the URL of the Teams channel you want the agent to post in
- Reference the channel you want to the agent to post in by the Teams Channel URL (e.g in a scheduled task, in a message to Azure SRE agent).
Learn more: Set Up Teams Connector | Azure SRE Agent
Setting up Scheduled Task
- Navigate to Automation in sre.azure.com
- Create a scheduled task
- Add details in the task description to specify what the task should do and how it should accomplish it (“use the ARM MCP connector”, “post results into this Teams Channel: {url}”)
- Set frequency and start/end date of task.
Learn more: Create and Edit Scheduled Tasks | Azure SRE Agent
Setting up Live Report
- Navigate to Live Report in sre.azure.com
- Talk with Azure SRE Agent to prompt it to create and update the report as you desire.
Learn more: Live Reports | Azure SRE Agent
You now have three ways to work with cost data in Azure SRE Agent: ask a question, receive a scheduled review in Teams, and build a Live Report. In Part 2, we’ll extend this basic setup with a preconfigured recipe for deeper investigations and more tailored FinOps workflows.

 Microsoft