First published on CloudBlogs on Nov, 13 2008
The Remote Desktop Protocol is an efficient and feature-rich protocol which we have invested in greatly over the years. As such, we’ve worked to make RDP available not just in traditional Terminal Server scenarios, but also as a platform for additional products from Microsoft and third party ISV’s. We are seeing the benefits of this work in very cool products like the Live Mesh Remote Desktop, which we developed with one of our partner teams. This service was just released to public Beta during Microsoft’s PDC, and in this post we’ll walk you through how it is used.
If you’ve ever wanted to have quick access to one of your computers from anywhere without the hassle of advanced network configuration and VPNs, Live Mesh is for you. Live Mesh uses advanced routing technology to enable seamless connectivity to any of your machines that are connected to the internet, regardless of network topology.
Note that there are a number of other valuable features in Live Mesh, but this post will focus exclusively on Live Remote Desktop. For more information on the additional features of Live Mesh, feel free to stop by their blog at http://blogs.msdn.com/livemesh/ . Now, let’s get you up and accessing your devices!
Adding Devices to Your Mesh
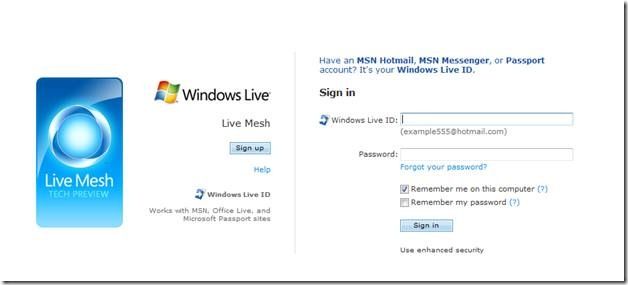
It is very simple to get started with Live Mesh. If you don’t already have a Windows Live ID, you can start by creating one from www.passport.net . Once you have an ID to use for your Live Mesh account, you’ll need to visit www.mesh.com and sign in.
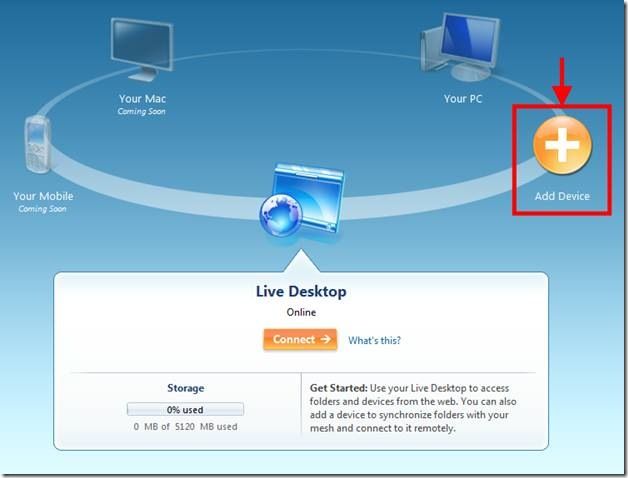
After signing in with your Windows Live ID, you will be presented with a first look at your mesh of devices. Initially your list of devices will be empty, so the first step will be to add devices you’d like to access to your Mesh.
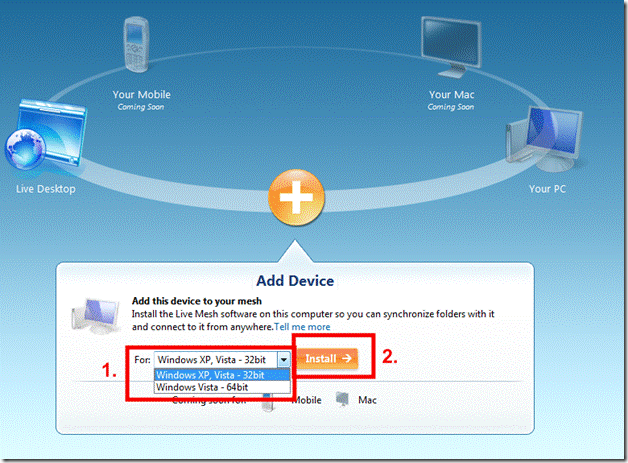
To add your device to the mesh, simply click the large Add Device button, select the operating system from the drop down menu, and click Install.
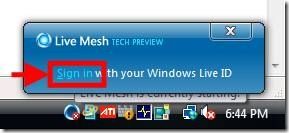
This process will accomplish two things. First, it will download and install the Live Mesh desktop software onto your computer. Installing this software adds all the Live Mesh functionality to your computer, including the components which make it remotely accessible. Second, it will register the computer with the Live Mesh service, to make your computer show up in your list of devices. After downloading and running the installer from the Mesh website, you will see a Live Mesh notification in your system tray.
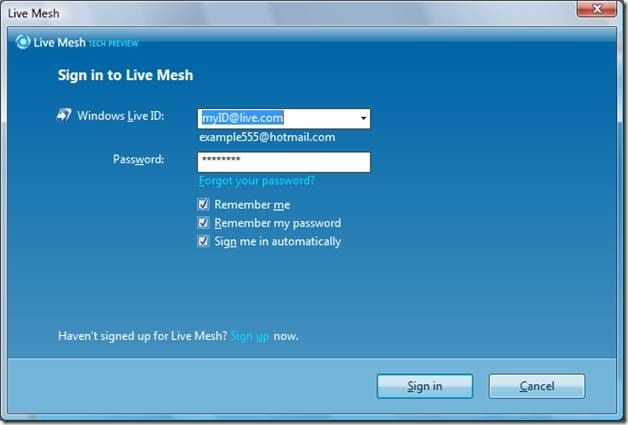
Next, click Sign in and enter your Live ID to get your computer logged on to your Live Mesh account. By allowing Live Mesh to save your password and sign in automatically, you can ensure that you’ll always have access to your computer, even upon reboot before logging in to your user account.
After you’ve signed in to your Live Mesh account, you’ll be able to create a friendly name to identify the device you’ve added to your mesh.
After clicking “Add Device” you have officially added the device to your Mesh and are ready to access it from anywhere. You should repeat this process on all machines you’d like remote access to. I personally have it on every computer I own =).
Connecting to Your Devices
Now that you have added your desired devices to your mesh, the next step will be to connect to your computers. The Live Mesh desktop software will be installed on any Windows XP or Vista computer you add to your mesh, and can be accessed via the Live Mesh icon in your taskbar’s notification area.
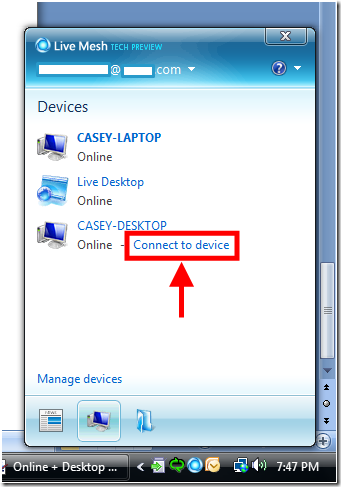
To begin, ensure that the device you’d like to access is turned on and has been signed in to your mesh either manually or by configuring it for automatic sign-in. Note that any machines which are set to automatically sleep for power-saving reasons won’t be reachable while they are asleep. On the computer you’re connecting from, click the Live Mesh icon on the right of your taskbar to bring up your list of devices. You will see that any device in your mesh which is online and logged in to your Live Mesh account will have the “Connect to device” option below its name.
Upon connecting you’ll see the lock screen of the target device. For security reasons, the device you are connecting to is locked upon connection, ensuring that whoever is accessing the device has not only successfully signed in to your Mesh account, but also has full rights to the remote device’s user account. After you log in, you can control your device in the same manner as you would through traditional Remote Desktop.
So far we’ve gone through how sign up for Live Mesh, add your devices to the mesh, and get connected via the Live Mesh software. In Part 2 of this post, I’ll outline how you can use Live Mesh to access your devices from anywhere via the browser, as well as some of the ways that Live Mesh Remote Desktop is unique when compared to the well-known Windows Remote Desktop feature.
Published Sep 08, 2018
Version 1.0MicrosoftSecurityandComplianceTeam
Iron Contributor
Joined September 05, 2018
Microsoft Security Blog
Follow this blog board to get notified when there's new activity
