- Home
- Exchange
- Exchange Team Blog
- Overview of Exchange 2007 SP2 Rollup Installation
- Subscribe to RSS Feed
- Mark as New
- Mark as Read
- Bookmark
- Subscribe
- Printer Friendly Page
- Report Inappropriate Content
You may have noticed that we've added some improvements to the Update Rollup installation process starting with Update Rollup 1 for Exchange 2007 Service Pack 2. This blog post walks you through the features we've added and what's happening behind the scenes. After reading this post you will have a better understanding about what may go wrong and how to tackle potential problems that may arise during the installation. We will have a separate post on how to analyze the errors for Update Rollup installations.
Below you'll find the installation process steps with details of what happens in which step.
Checking System
In addition to the common system checks that the Windows Installer framework enforces - such as disk space requirements and system integrity validation - we've added several Exchange specific pre-installation checks which are run prior to any modification of the Exchange server.

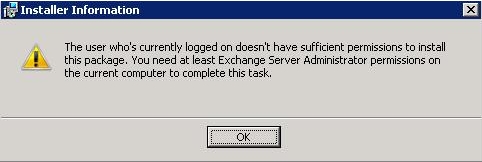
First, a permissions check makes sure that you have logged onto the domain rather than onto a local computer account. Since the Update Rollup installation will access the Active Directory, being logged onto the domain is a requirement for the installation to complete successfully.
You will see a warning dialog if you are not logged onto the domain and the installation will stop at this time.
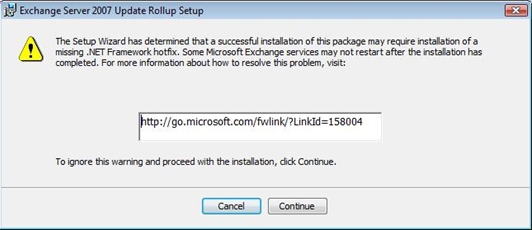
Next the installer performs a check to make sure that a particular .Net Framework hotfix is installed on the computer. Without this fix the .Net Framework does not honor a "generatePublisherEvidence=False" directive in the assembly configuration file. Without this setting, computers with slow or non-existent internet access (a common scenario with internal Exchange servers) will have Exchange services that fail to restart after installation has finished. We have introduced the following dialog to warn you if this hotfix is not present.
At this point, the installation can be canceled, which will end the installation and Exchange services will be unaffected. While installation of the .Net hotfix is strongly advised, you can choose to select the "Continue" button and the installation will continue. However, you may need to manually restart services after installation has completed.
Next, the installer determine if Certificate Revocation List (CRL) checking is enabled on the machine, and if it is, whether we can reach the CRL website. If CRL checking is enabled and the CRL website is unavailable then the NGen process (more about this) can be dramatically more sluggish while it waits for CRL checking timeouts to occur (more about CRL check). If this condition is detected, the following warning dialog will be displayed.
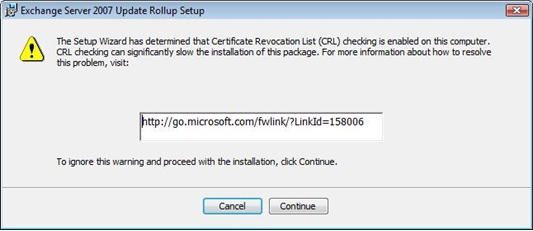
Instructions for resolving this problem can be found using the link provided in the dialog (or here). An obvious question about this dialog is: "Why didn't you add a hyperlink that could be used to access the URL directly"? The problem is that many Exchange servers do not have access to the Internet and may not have an Internet browser installed. We did not use a hyperlink in an effort to reduce confusion in these scenarios. Instead a textbox is provided which can easily be copied and pasted into a browser (perhaps on an admin box).
Again, at this point, the installation can be canceled, which will end the installation and Exchange services will be unaffected. While it is highly advised that the CRL problem be resolved first, the "Continue" button can be used to resume the installation (which may be slower than expected, causing longer Exchange downtime).
It is worth noting that if a warning that we consider non-fatal occurs you will be given an option to continue or cancel. For example, if you earlier clicked "Cancel", there will be a final confirmation dialog as seen below.
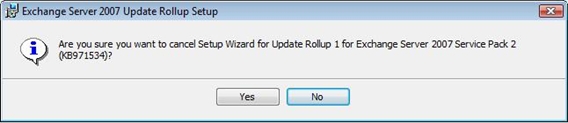
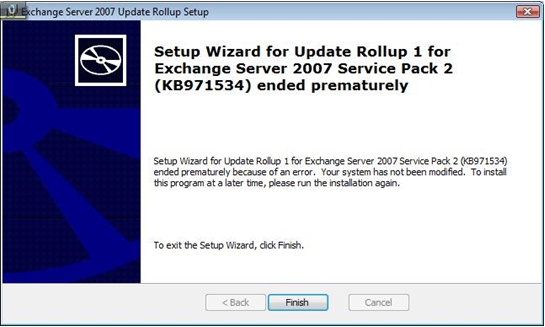
If the installation is canceled by the user or programmatically by the installer, the following dialog will inform the user that the process has ended before successful completion. In all cases, Exchange services should not be affected.
Pre-Install Native Image Generation (NGEN)
Exchange depends on the timely start of its services to operate properly. After installation of Exchange components, a .Net process called NGen must be run to prepare the service programs to start efficiently. If you are curious, NGen (Native Image Generation) is explained in detail in this MSDN article. It is quite common for other applications to install components and not run NGen. When Exchange runs NGen these non-Exchange components will also be prepared, leading to potentially severe delays in the installation of an Exchange patch. This delay can result in longer downtime for Exchange services. This situation is greatly improved by running NGen BEFORE installing the new Exchange components. During this pre-install phase, Exchange services will continue to operate, drastically reducing downtime required for an Exchange upgrade.
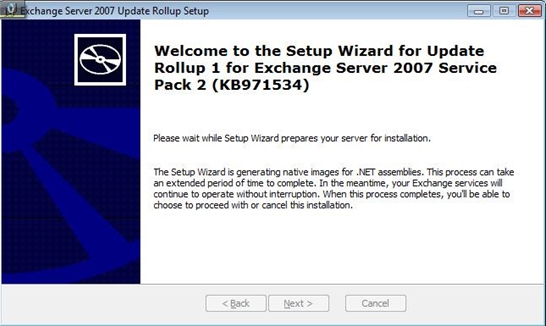
The following dialog will appear while NGen is preparing the non-Exchange components. As mentioned before, this can take some time to complete, depending on the number of programs that are in the pre-NGen state. You can minimize this dialog to do some other work while waiting.
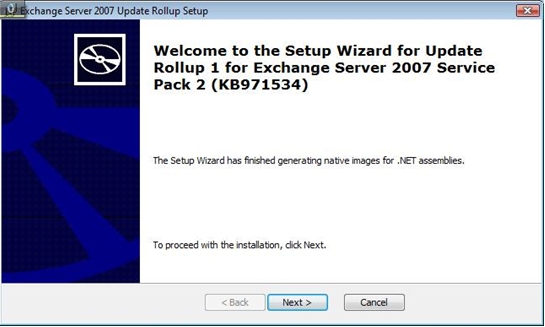
Once the pre-install NGen has finished, a dialog will display and you can choose to continue or cancel at this point. If you select "Next", the installation will continue. If "Cancel" is selected, the installation of this update will end and Exchange services will be unaffected.
Running Customizable Script Before Patching
At this point the installer will run custom, user-defined PowerShell scripts, if they are available. This feature allows tailoring of the installation to meet your system requirement. There are three opportunities for this c ustomization; during pre-install, post-install and rollback phases. For example, there may be 3rd party services that need to be stopped or there may be files that need to be backed up (and perhaps restored after installation). For more information on how to setup this feature see details in this separate blog.
Stopping Services
Before installing Exchange files, the Exchange services must be stopped. This allows updating of the files used by the services and also removes the need to reboot the server after installation. The ServiceControl.ps1 script (located in ExchangeFolder\bin) is run to stop the services. The results of the service shutdown can be seen in a log file (\ExchangeSetupLogs\ServiceControl.log) located on the Exchange installation hard disk.
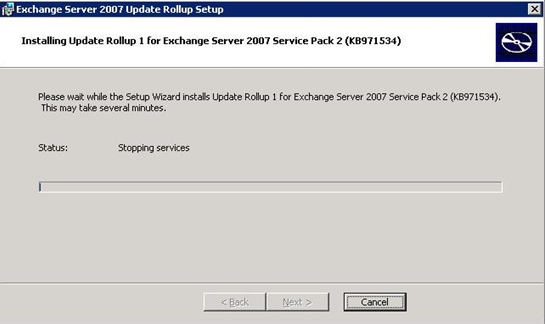
The following dialog (with Status) will appear, indicating that the installation of Exchange is underway. While services are being stopped, the "Cancel" button can be selected to end the installation. However, due to the nature of the installation, the "Stopping services" phase must continue to completion before the cancellation takes effect. This means that Exchange will be momentarily unavailable. Once all services have all stopped, they will be automatically restarted, the installation will end and Exchange service will be available again.
Validating Installation
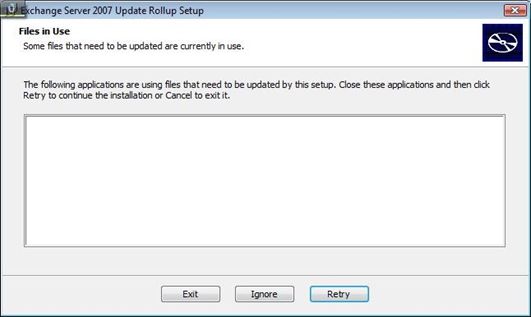
Once the services have stopped, certain validation checks will be made to ensure that the system is ready for installation. The biggest concern is the "file-in-use" scenario. In particular, the Exchange Management Console and Exchange Management Shell must be closed when installing an update rollup.
If the dialog shown below appears with one or more applications in the list, you can try to close these applications and stop any related services and then click the "Retry" button. Clicking the "Ignore" button will result in a requirement to reboot after the installation. If "Exit" is selected the Exchange services will be restarted, Exchange service will be restored and the installation will end.
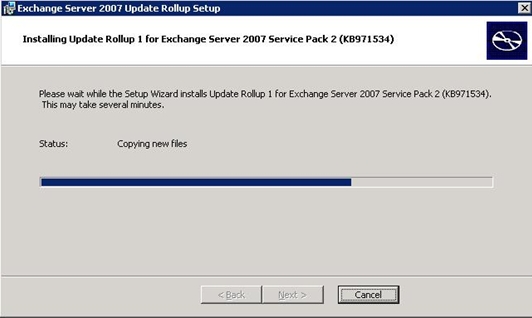
Updating Exchange
The change introduced here is to enable the "Cancel" button and support of rollback functionality. Clicking "Cancel" at this point will result in a rollback procedure which restores the computer back to the state prior to the start of installation. For more information regarding rollback, read the blog on "Rollback".
Post-install NGening Exchange Binaries
As mentioned earlier, the post-installation NGen task will process all of the new and updated Exchange binaries, preparing them to start efficiently. The "Cancel" button is disabled from this step onwards because a cancellation would still require that the NGen process complete and then another NGen pass would be required to revert back to the old binaries.

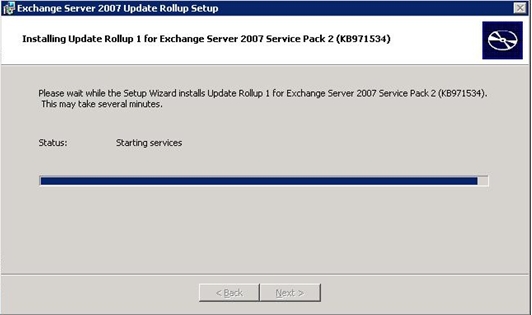
Starting Services
All services that were previously running will automatically be started again during this step. Similar to when services were stopped, the ServiceControl.ps1 PowerShell script is used and results of the service startup are written to the ExchangeSetupLogs\ServiceControl.log log file.
Running Customizable Script After Patching
The post-install section of the user-customizable script is called. Again, for more information on this feature see details in this separate blog.
Patching Configuration Files
The patchconfigfile.ps1 script will run and update some Exchange program configuration files. The script file is located at ExchangeFolder\bin. The log file patch-config.log can be found at ExchangeDrive:\ExchangeSetupLogs. This script file is for Microsoft use only.
Patching OWA
Similarly, the UpdateOwa.ps1 script will run and create a virtual directory for the updated version of OWA. The file is located in ExchangeFolder\bin. The log file UpdateOwa.log can be found at ExchangeDrive:\ExchangeSetupLogs.
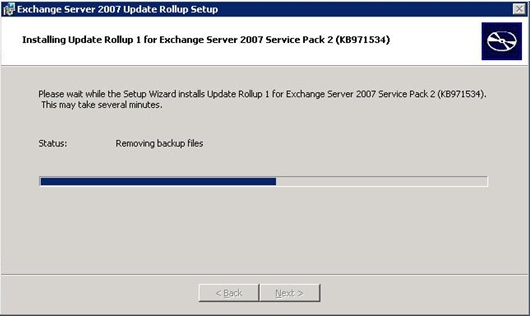
Removing Backup Files
All backup files for the installation will be removed in this last step.
- Exchange SE team
You must be a registered user to add a comment. If you've already registered, sign in. Otherwise, register and sign in.