- Home
- Security, Compliance, and Identity
- Core Infrastructure and Security Blog
- Azure File Sync: Replacing Existing Server Endpoints
- Subscribe to RSS Feed
- Mark as New
- Mark as Read
- Bookmark
- Subscribe
- Printer Friendly Page
- Report Inappropriate Content
Introduction
This is Andrew Coughlin and I am a Customer Engineer at Microsoft focusing on Azure IaaS. In this blog I will focus on how to add an additional server to an Azure File Sync and how to remove the old server. This process should be followed if you are looking to retire your old Azure File Sync server and want to replace it with a newer server. However, if you are currently having issues with your Azure File Sync Server this blog is not for your scenario. If you are having issues with your sync server it is best to open a support request and work with an engineer to solve the problem.
Prerequisites
- Existing Azure File Sync Service setup and configured.
- Deploy a new Windows Server.
- Download the Azure File Sync Agent here.
- Prepare your Windows Server to use Azure File Sync as documented here.
Install the Azure File Sync Agent
To install the Azure File Sync Agent, you will go to the location where you downloaded the executable.
NOTE: Each version of Windows Server has its own version of the installation executable.
- Then you will execute the installer.
- Click Next, on the welcome setup wizard.
- Accept the terms and conditions and click Next.
- Click Next, on Feature Selection.
- Set your proxy settings if required, click Next.
- Check the checkbox next to Automatically update when a new version becomes available, then select the day and time, then click Install.
- Wait for the installation to finish.
- Click Finish.
Register it to the Storage Sync Service
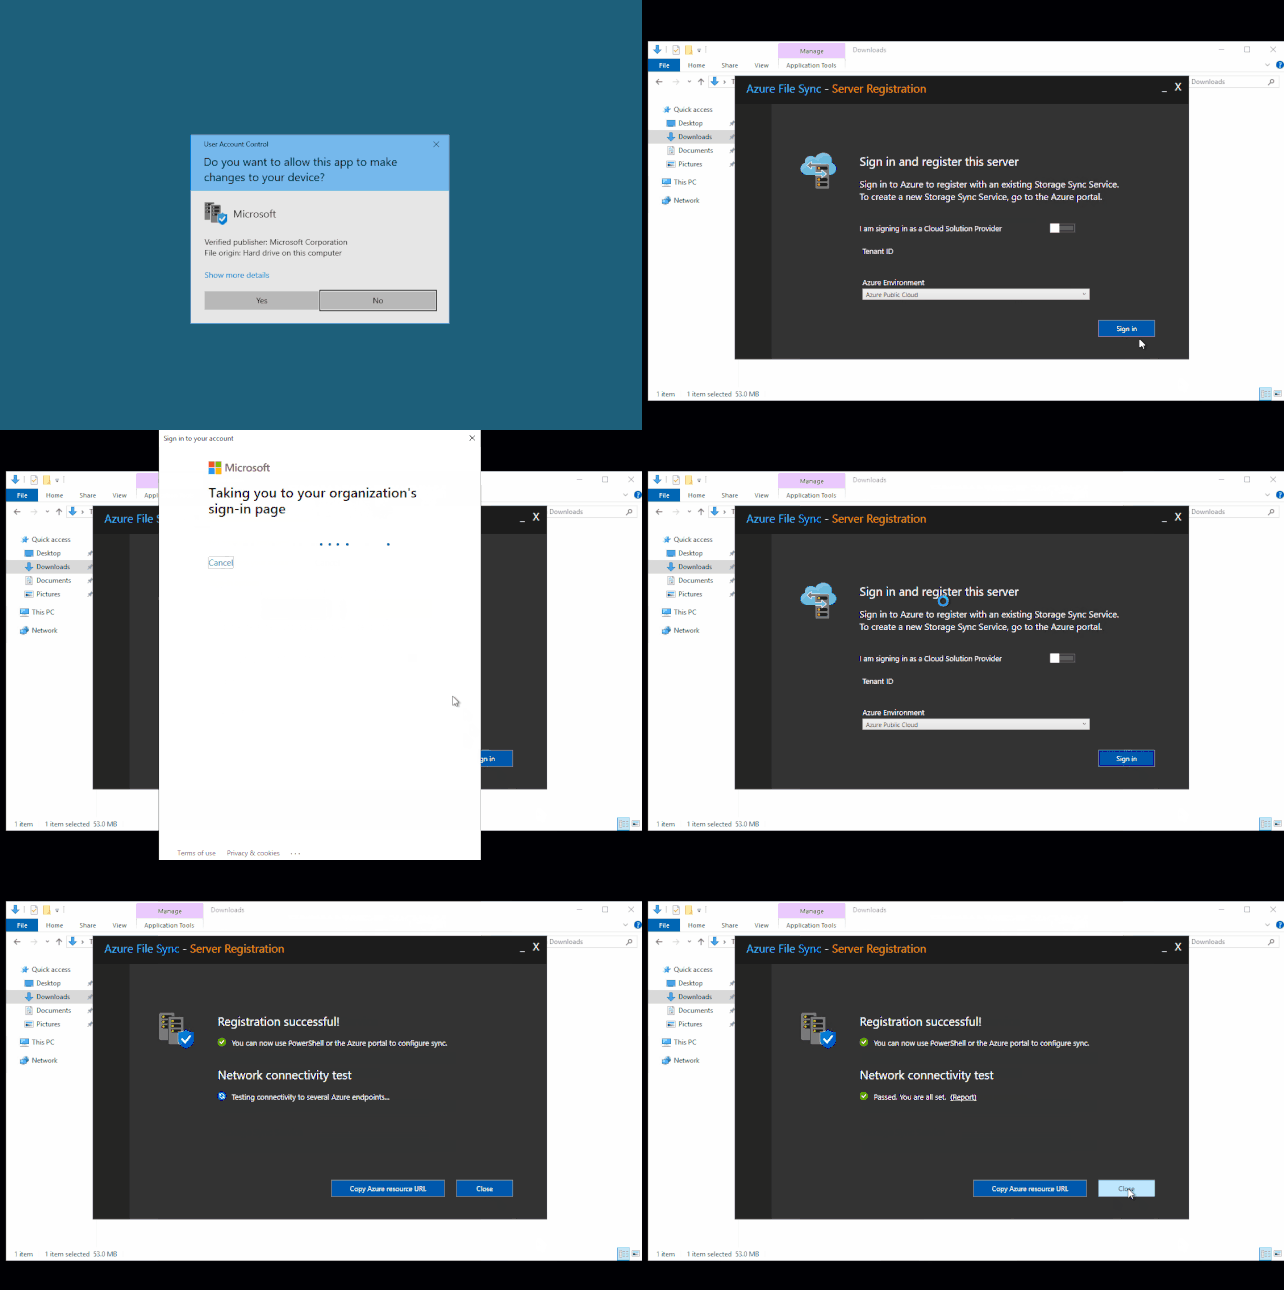
Once you have installed the Azure Sync Service, you need to register your server with the service. To do this you will do the following on the new server:
- Click OK, on the Azure File Sync - Agent Update
- Click Sign In.
- You will be prompted for your global administrator username / password.
- You will then select the subscription, resource group and storage sync service, then click Register.
- Network connectivity test will show green, you may need to click retest.
- Click Close once done.
Add the Server Endpoint
Currently we have installed the agent and registered the new server with the Azure File Sync Service. Next, we will add the new server endpoint to our existing Sync group. We will go to the portal and search for Storage Sync Service.
Then you will click on the Storage Sync Service you are going to add this new server to.
Click on Overview and then click on your sync group.
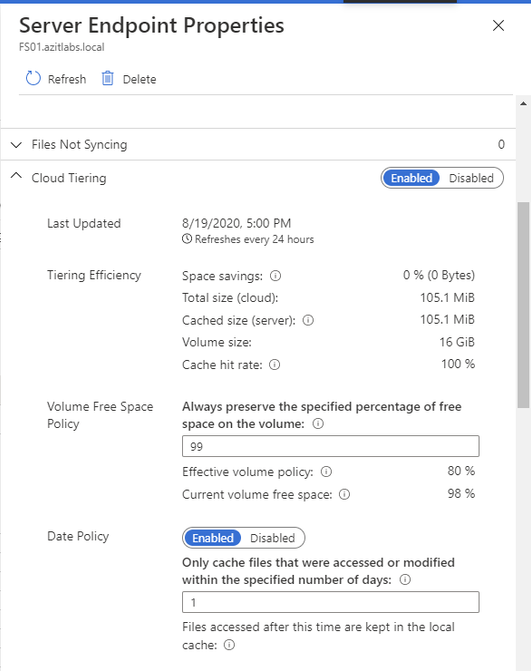
Click on the old Server endpoint.
Take note of your current tiering policies for volume policy and date policy.
Click on the X on the Server Endpoint Properties Window.
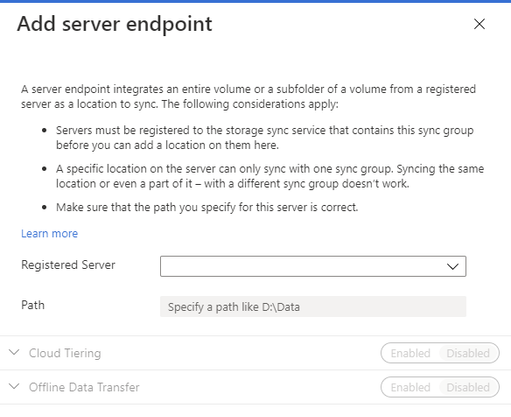
Click Add server endpoint.
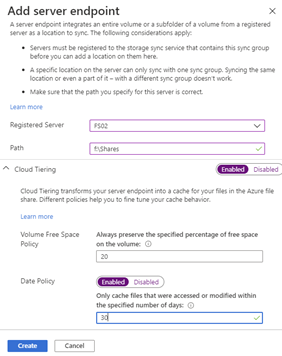
On the Add server endpoint screen, select the server from the dropdown list on Registered Server, and type the path to be synced as part of the sync group. (Example: E:\Shares)
If your current server endpoint is doing cloud tiering, enable Cloud Tiering and configure the new server endpoint to match the old server endpoint configuration, then click Create.
You will now see 2 server endpoints, and the new one you just added will be in a pending status.
When the setup is complete the new server should show healthy:
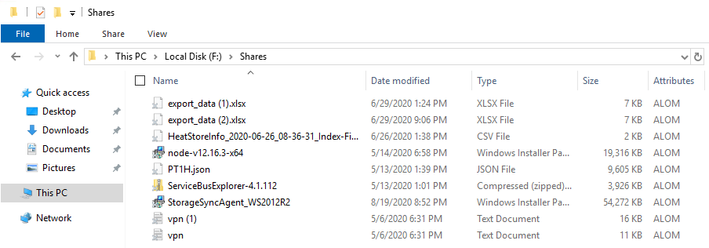
If you switch to the new server, you will see new files being populated:
We now have our new server added and part of the sync group. As files are created on the old server, they are synced to the file share and back to the second file server.
Verify Sync on new Azure File Sync Server
Next you need to verify that the new server has completed a sync. To do this we will open eventvwr on the new server.
Then navigate to Applications and Services Logs \ Microsoft \ FileSync \ Agent \ Telemetry. We want to filter on Event ID 9102, this is logged once a sync has completed. For additional information around this event id you can visit this page.
Next thing to do is to create the shares. This is one article that explains how to export / import share permissions.
Remove Server Endpoint
WARNING: Before completing this next step make sure synchronization, as noted in ‘Verify Sync on new Azure File Sync Server’, has completed and no client devices are no longer talking to this server. Don’t complete these steps until all clients are talking to the new server. There are several ways you can move your client devices:
- Add the server to the existing DFS target folder, see my blog here for more information.
- Shutdown the old server, rename the new server to the old server name, be advised the server endpoint in the portal doesn’t update the name as noted here.
- Create a CNAME from the old server to the new server, for documentation for creating a cname use this link.
Normally when you remove a server endpoint you may only have 1 server in the sync group. Before you do this, you would make sure to recall those files. In this scenario, we have 2 servers in the sync group and therefore we do not need to recall the files. However if you are retiring an Azure File Sync server that you want to keep the files locally on the file server you will want to recall the files before proceeding as documented here.
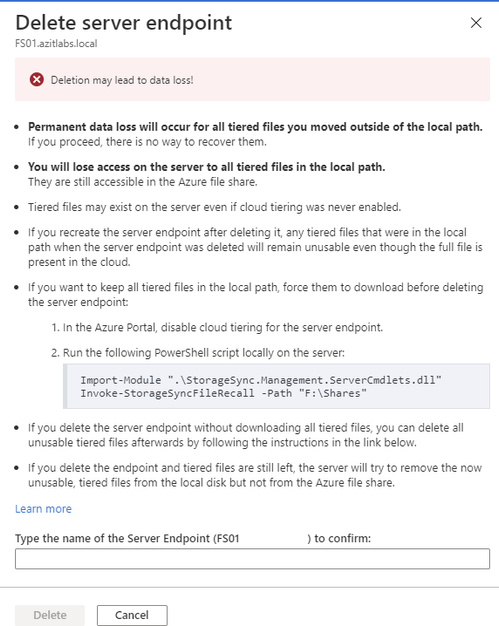
Go back to the Azure Portal, then the Storage Sync Service and the Sync Group. Click on the old sync server and click Delete.
Type the name of the server in the text box and click Delete.
Remove Registered Server
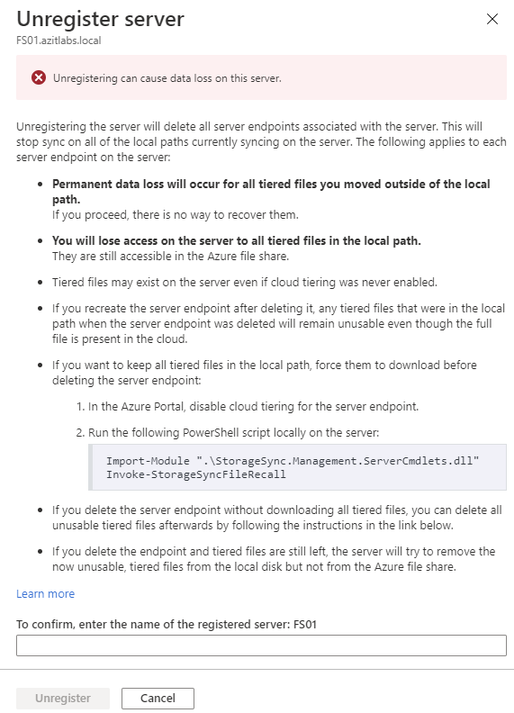
The second to the last step is unregistering the server from the Azure File Sync Service. To do this go back to the Azure Portal, then the Storage Sync Service. Click Registered Servers and click on the server you are wanting to retire. Next, we will click on Unregister Server.
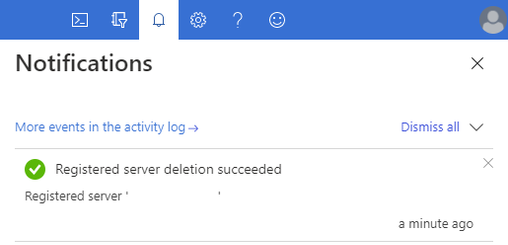
Type the name of the server in the text box and click Unregister.
Uninstall the Azure File Sync agent
The last step is an optional task, since we removed the server from the sync group and unregistered it, those are the more important tasks. If you would like to uninstall the agent, it is 4 simple steps as outlined below:
- Click Start > Control Panel > Add/Remove Programs (Programs and Features).
- Click on Storage Sync Agent > Click Uninstall.
- Click Yes, on Are you sure you want to uninstall Storage Sync Agent.
- Click Yes to restart now, or No to restart later.
Conclusion
In 6-7 easy steps, we replaced an old Windows Server running Azure File Sync with a new Windows Server. Are you a Premier or Unified customer? If so and you are wanting to know more about Azure File Sync, ask your CSAM about the Activate Azure with Azure File offering. Thank you for taking the time to read this blog, I hope this helps you and see you next time.
You must be a registered user to add a comment. If you've already registered, sign in. Otherwise, register and sign in.

