First published on MSDN on Oct, 01 2009
When you start a new diagram, you typically begin with a single drawing page that is the size of a standard piece of printer paper. Many diagrams grow beyond the size of a single printed sheet. Visio 2010 adds a dynamic page sizing capability that responds as you draw, so you no longer have to manually adjust your page size to your diagram.
As you draw beyond the edge of the current page, Visio expands the page in that direction by one additional tile , or printer paper sheet.


If you live preview adding a shape with AutoConnect , Visio also previews the tiles that will be added. As you drag shapes outside the current page or drag shapes from the Shapes window, Visio shows a translucent preview of the new tiles that will be added if the shape is dropped in its current location.

All sorts of things can affect the size of your diagram when printed, including adding shapes, deleting shapes, moving shapes, adding or removing text and changing text properties. Any of these will alert Visio to update the page larger or smaller to keep the drawing within full tiles.
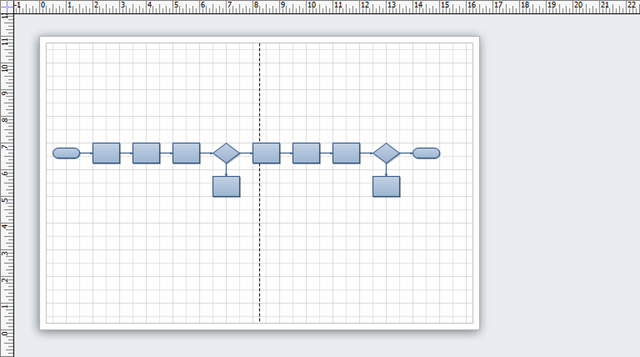
| Start with this: |
 |
| Add more text: |
 |
| Delete the shape: |
 |
You may also notice that the depiction of page breaks and margins is different than in Visio 2007. We simplified the look of page breaks and many people will find them similar to Excel’s. Margins are now a clear white area around the entire page. We think you will find this much more clear than the grey bars in past versions of Visio. We also enable showing page breaks and margins by default in new drawings, to help make it clear how Visio is adjusting your page.
This auto sizing behavior is controlled using the Auto Size toggle button on the Design tab. If you click the dialog launcher and open the Page Setup dialog, you’ll see we replaced the now-defunct “Same as printer paper size” option with “Let Visio expand the page as needed”. The sharp-eyed Visio expert will notice that the “Size to fit drawing contents” option is also gone from the dialog. Since that item was more of a one-time action than a persistent state of tightly fitting the page to the diagram, we moved it to the Page Size dropdown and renamed it “Fit to Drawing”.
Since we’re talking about page sizing, it’s also worth taking a quick look at manual page adjustments. The Orientation and Size dropdown buttons on the Design tab surface the most commonly-used items from the Page Setup dialog.
When Auto Size is enabled, these reflect the orientation and size of the printer paper (the tiles in the drawing page), because Auto Size controls the size of the page based on the printer paper settings. Changing them changes the orientation and size of the printer paper settings. If you change these, the number of tiles required to contain the diagram may also change, so your drawing page may change size.
Size = Letter (8.5” x 11”)
Orientation = Landscape |
 |
Size = Letter (8.5” x 11”)
Orientation = Portrait |
 |
When Auto Size is disabled, these reflect the orientation and size of the drawing page , because you are controlling it, not Visio. Changing them sets both the drawing page and the printer paper settings, to keep them in sync.
Size = Letter (8.5” x 11”)
Orientation = Landscape |
 |
Size = Letter (8.5” x 11”)
Orientation = Portrait |
 |
Essentially, we made Orientation and Size work as expected depending on context – whether Auto Size is on or off. That is, whether you have Visio taking care of the page size or if you are doing it.
We hope these additions will help you to more easily, and more fluidly, build and edit your diagrams. As usual, send us any feedback you have using Send a Smile or through a comment on the blog.


