- Home
- SQL Server
- SQL Server Blog
- Host chat-bots with Microsoft Machine Learning Server Operationalization
- Subscribe to RSS Feed
- Mark as New
- Mark as Read
- Bookmark
- Subscribe
- Printer Friendly Page
- Report Inappropriate Content
Microsoft Machine Learning Server Operationalization allows users to create remote R or Python sessions, create Machine Learning models using their favorite R/Python packages and publish them as 'Web-services'. While web-services are perfect for prediction/scoring scenarios, they are inherently stateless in nature and hence may not be suited for a 'chat-bot' like use-case which are often stateful. In this blog, we will see how we can host such a stateful chat-bot using remote R or Python sessions on Machine Learning Server.
For demo purpose, I will be creating an R-based bot, where users will have to guess a number between 1-100. I will be using mrsdeploy R package for remote execution into our Machine Learning Server. You can also use this package OR create/use existing client ( example java client here ) for R/Python remote execution and create your own R/Python chat bot.
1. Create the "bot":
We will create a R session and create our simple chat-bot, that assumes a number between 1-100, that the user will try to guess. We will add all the required code for our bot, and then we will take a "Snapshot" of our remote session. The "Snapshot" will basically be our starting point for all subsequent 'chat' sessions with the user, where the Bot will be set-up with required code-base.
We will run the below code in mrsdeploy local R Session:
remoteLogin("http://[Your-Server-IP]:12800", username = "admin", password = "[Your-Password]", diff = FALSE)
##### Below code runs on REMOTE R Session #####
num <- 0
reset <- function() {
num <<- sample(1:100, 1)
}
guess <- function(gnum) {
if (num <= 0) { reset() }
if (num > gnum) { return ("Your guess is smaller than the number.") }
if (num < gnum) { return ("your guess is larger than the number.") }
reset()
return("You guessed it! The number is reset now.")
}
pause()
##### Below code runs on local R Session #####
snapshotId <- createSnapshot("guess-game")
snapshotId
Below is the screenshot of executing above code. Remember the snapshotId because later, we will use it as the starting point for our user's chat session with the bot.

2. Create the Bot client:
The bot client will help user interact with our bot. The client will start a new "R Session" with the Machine Learning Server, but with snapshotId as the starting point.
For developing the client itself, you can use the full-swagger for Machine Learning Server's all REST APIs Or a reduced version of the swagger that concerns only with managing the sessions. I will be using the Java client generated with the reduced swagger. You can find the Java ChatBot client code here: https://github.com/Microsoft/microsoft-r/tree/master/mlserver-java-clients/ChatBotClient
- Copy the desired swagger from above
- Go to http://editor.swagger.io and paste the swagger
- Click on "Generate Client" > "Java"
- Extract the downloaded zip file and open in your favorite IDE (Eclipse for me) as a Maven project
- Add a GUI based application window class with Main() method. First, we login to the server when application is launched through initialize().
-
- After login, we get hold of the bearer token. We will update the apiClient and set the "bearerToken" for each subsequent request to the Machine Learning Server.
-
- Now in order to start the "Chat" session, we create a remote "R" session since we created a chat bot in R in step 1. If you used Python for step 1, you should use "Python" runtime here. Also, notice the SnapshotId which we got from Step 1. We will use this SnapshotId as the starting point for our "Chat session" which will have all the code for the Bot setup.
-
- Now, all we need to do is get an input "guess" number from the user and send it to our Bot on the server. For this, we create an "ExecuteRequest" with code that will use our bot code and pass the input number from the user. In return, we will get the response from the Bot (String in our case) that we will show to the user.
-
- Let's remember to close the remote "R" session, when we close the application!
-


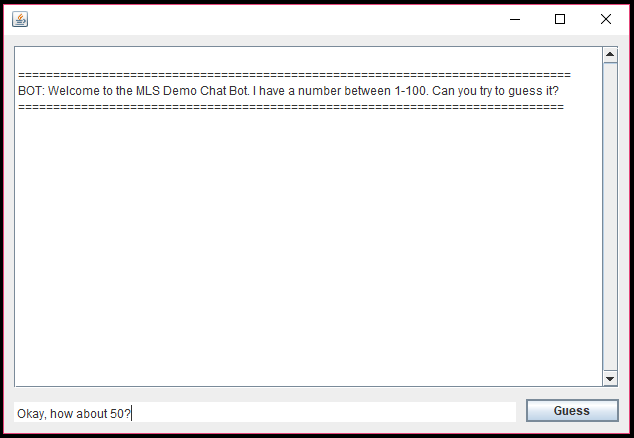
3. Let's Chat!
- Here is the screenshot for the Chat Session created from our client:
-
-
-
-


You must be a registered user to add a comment. If you've already registered, sign in. Otherwise, register and sign in.